
If you are a newcomer to designing, then there are a lot of designing apps that are available in the market. And Photoshop is one of them. There are many features using which you can make changes to a picture. From its background changing to making a completely different one, Photoshop is the key to doing it. It sounds simple right? But in actuality, you cannot make it if you are not trained well. Thus, first, understand the photoshop tool and gradually climb the stairs. While working in photoshop, you will notice different features. And to keep the original picture safe, photoshop allows the users to create multiple layers. And in layering, one such feature is to resize it, but if you don’t know how to resize a layer in Photoshop, read the article ahead!!
What is Adobe Photoshop?
What's in this article...
Adobe Photoshop is popularly known as Photoshop. It is a platform used to edit raster graphics and is published and developed by Adobe Inc for MacOs and Windows. Photoshop is also used in digital arts. Users can compose and edit raster images or bitmaps in various layers through the platform, which supports alpha composition, masks, and various color models such as CMYK, duotone, CIELAB, RGB, and spot color. Moreover, to the reader’s knowledge, photoshop allows limited potential to render or edit text, 3D graphics, vector graphics, and video. Also, Photoshop has its own file formats, such as Photoshop document or PSDto support the features. Now read ahead to learn what layering is?
What is layering in Photoshop?
There are numerous finest tools in Photoshop, and Layer is one of them. Layers are like segregated paper sheets organized in pattern to make an exceptional image. Moreover, one can move layers to position the picture content. Users can move layers in an upward and downward direction. Moving a layer is a very straightforward or simple process. It is like sliding an acetate rayon sheet into a pile. The layer feature allows the user to control the Layer’s opacity to build the Layer’s content completely or partially transparent. In addition to that, you also perform various tasks in layers, such as adding text, blending multiple images, and adding vector shapes and effects like glow or drop shadow to an image. Also, users can delete or add layers at any point during the work. If you are trained well, you feel that layering is quite easy to control.
Layering is an important feature in photoshop. One cannot create anything creative and unique without using this feature. And by default, Photoshop’s virtual workspace consists of a layer panel where you can see and control layers. If you cannot see the layers, go to windows and then layers to display it. The shortcut key is f7 to display the layer. Now the time comes to read How to resize a layer in Photoshop? Go ahead to learn the procedure.visit here
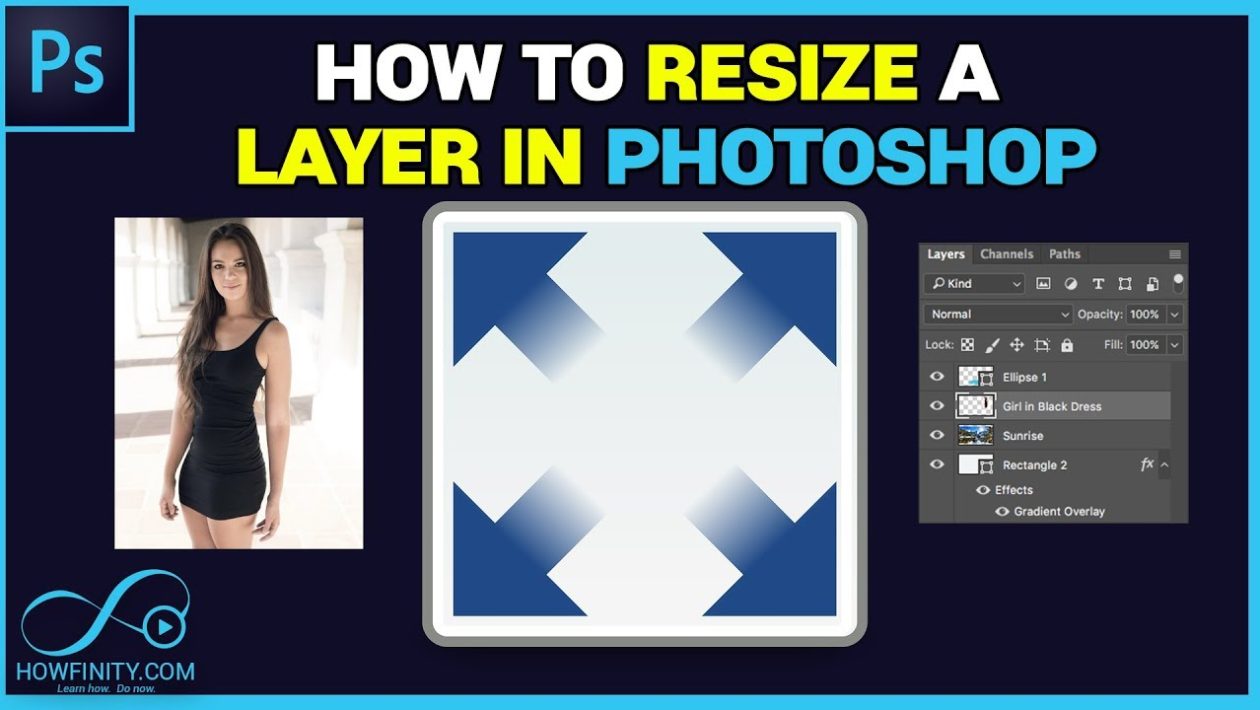
How to resize a layer in Photoshop: Add layers in Photoshop.
Now, you are familiar with the layer feature of photoshop. It’s time to know how to add layers in photoshop. Adding layers is a very simple process, and there are several methods to do it.
- Using the top menu bar
Tap on the top menu bar and select the new option. A list of several options appears. Choose the first option of Layer. A new layer will appear on your screen, allowing you to change its name, color, and other several options. If done, press on ok.
- Shortcut to add the Layer.
To add an extra layer in photoshop on windows, press Ctrl+Shift+N. A new window will appear on the screen. Adjust the rest of the settings according to your will and press ok.

How to resize a layer in Photoshop: Procedure to learn
Above, you understand that layering is an essential feature of Photoshop. It helps you create styling and gives an unexpected effect on your image. So, in case you want to resize it, you need to learn the process. However, there are a couple of methods to do the same. And both the methods include a Transformation Tool. Steps to follow:-
Method 1
- Choose the Layer you want to make changes to in the Layer window.
- Tap on the Free Transform option in the Edit menu. You can also press Ctrl+T for windows and Command+T for mac to do the same. You will see the size bar pops up on your screen.
- Select on the boundary box or any edge of the Layer and drag it to your desired layer size. To increase the size, drag in the outward direction. Or away from the center while decreasing the size drag inwards or towards the center.
- To maintain the ratio, press shift and hold it. Moreover, you can also revolve the Layer. To do so, select and hold outside the bounding box and drag it either counterclockwise or clockwise.
- Press enter when you get the desired size, or you can also double click on it. Press return to finalize the desired size if you are working on macOS.
Note: To avoid further changes such as distortion of height or width in your Layer, after you do the resizing, you can lock or unlock the Layer according to your will.
Method 2
Resizing a layer to a particular dimension
If you have some specific size in your mind, you can set it to your image without using the freehand tool.
- Choose the Move tool and select the option of Show Transform Controls.
- Select the bound around the selected Layer and in the top menu bar, change the percentage of H and W to extend the Layer to a particular value.
- In case you don’t want to sustain the exact aspect ratio. Tap on the Chainlink option to discard the restriction.
- Press enter when you are done or choose the checkmark.
Note: to undo the changes, click on the cancel button present beside the checkmark, or you can also press ESC to do the same.
Moreover, you can also use more transform tools. These tools also reshape the Layer along with its resizing. Suppose you don’t want to increase the Layer linearly and only want to alter its proportions or perspective. Then, go to edit >Transform and use the different tools listed there and play with the tools until you get the desired result.
Now, the question is, why is layering important?

Why is layering important?
Earlier, you witnessed that layers are an important feature when it comes to creating a stylish image.
Or do any other graphical tasks. We all know that one cannot work with every part of an image without affecting the other elements. In those cases, layers give us the leniency to edit or add a particular part of the picture and help to create it in another picture. Layers allow the users to control the picture in a unique way. Moreover, to be comfortable with the layers and create amazing effects with them, you have to take proper training and give proper time to it.
Now, let’s dive further to know about the layer panel.

How to resize a layer in Photoshop :Know more about layer panel
By default, you can get access to a layer panel in an essential workplace. But, in case it is not available, then use the shortcut key F7 to reactivate it. Users can adjust and manage layers by using the panel. Read further to learn the elements of the layer panel.
Elements of the layer Panel
There are several elements available in the layer panel. These are listed below:-
- Smart Object: It is a container or a special layer with multiple layers, raw files, vectors,3D, video, etc.
- Layer Group: To group the layers, place them into a folder. Or you can say that it is a folder that contains multiple layers and can be grouped by placing them into a folder.
- Adjustment Layer: This feature allows you to customize tone or color to every Layer available underneath. To the reader’s knowledge, it will only make changes to the layers present underneath
- Thumbnail: It is a small picture that consists of the component of the Layer.
- Layer Style: It is a layer that has some effects. To turn on or off the layer style, click on the eye icon, and you can see the layer style option by clicking twice on the Layer.
- Layer Mask: It is an important part of a layer to do non-destructive editing. A layer Mask is used to color the mask to reveal and show the image elements.
- Type Layer: It is a layer where the user can edit the text layer. Moreover, it is the same as the image layer.
Background layer or default layer
By the heading itself, you understand that the background layer is also known as the default layer, which is present in every image. It is also known as an invisible layer and is locked by default. To work on the background layer, you have to unlock it. Basically, this default layer is used to change or make the picture transparent. Moreover, you can also choose a transparent background while creating the picture. This feature will automatically add a transparent background.
Deleting the unnecessary Layer
Sometimes, while working, we don’t get the desired result and end up deleting that Layer. Deleting a layer is a simple process. Therefore, press the right button on the Layer and choose the delete to do so. You can also go to the layer panel and delete the Layer by tapping on the delete icon present at the base of the layer panel.
Note: There are a lot of other features that you can use to give different effects, create duplicate layers, show and hide layers, link layers, group layers, and many more. Now, put your efforts, learn Photoshop, and become a master in it.
Conclusion: how to resize a layer in Photoshop
Above, you read how to resize a layer in photoshop. Moreover, you also learn what Photoshop is, layering. In addition to that, the article also covered how to add layers, delete layers, layer panels and their components, and many more. There are other features by which you can create unique background designs and edit pictures. So, pull the strings and get ready to dive into the world of designing.
I hope you find the article informative. For more such articles, bookmark the page, and for more info on layering, make comments below!!